Introduction
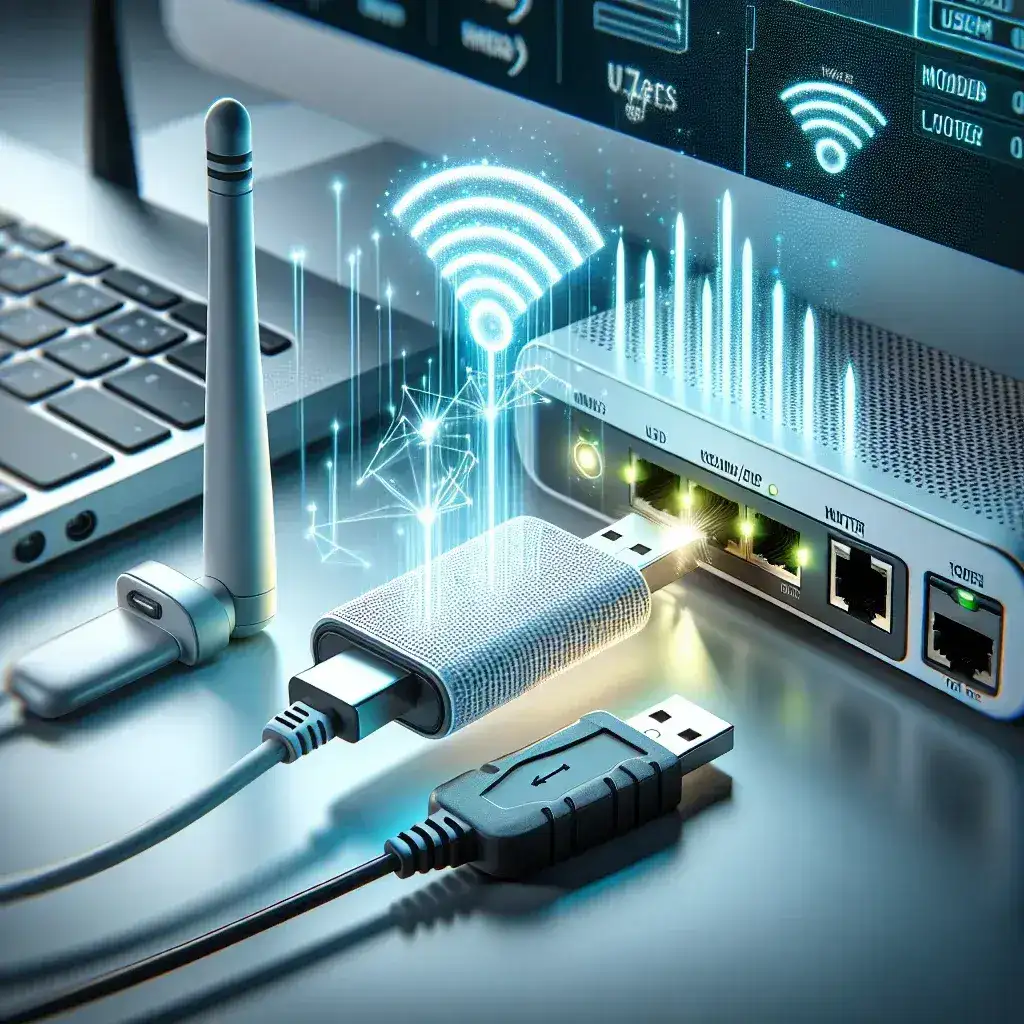
Setting up a wireless network adapter is a crucial step for enabling your computer to connect to a Wi-Fi network. Whether you have purchased a new adapter or need to re-configure an existing one, knowing the right steps ensures a seamless and efficient process.
Requirements for Setting Up a Wireless Network Adapter
Before you start setting up your wireless network adapter, make sure you have the following:
- A desktop or laptop with an available USB port or PCI slot
- A wireless network adapter
- The latest driver for the wireless network adapter
- Access to a Wi-Fi network
Step-by-Step Guide to Setting Up a Wireless Network Adapter
Step 1: Unbox and Inspect the Adapter
After purchasing your wireless network adapter, unbox it carefully and check if all components are included. Typically, you should have the adapter itself, a driver CD, and a user manual.
Step 2: Install the Driver
Install the driver software that comes with the adapter. Insert the CD into your computer and follow the on-screen instructions. If your adapter didn’t come with a CD, you can download the latest driver from the manufacturer’s website.
Step 3: Connect the Adapter to Your Computer
For USB Wireless Adapters:
- Plug the USB wireless adapter into an available USB port on your computer.
For PCI Wireless Adapters:
- Turn off and unplug your computer.
- Open the computer case and locate an available PCI slot.
- Insert the PCI wireless adapter into the slot and secure it with the screw provided.
- Close the computer case and restart your computer.
Step 4: Configure Wireless Settings
Once the adapter is connected, your computer will recognize the new hardware. Follow these steps to configure your wireless settings:
- Go to the “Network and Sharing Center” on your computer.
- Select “Set up a new connection or network.”
- Choose “Manually connect to a wireless network” and click “Next.”
- Enter the network name (SSID), security type, and password.
- Click “Connect.”
Step 5: Test the Connection
Ensure that your wireless network adapter is properly configured and connected by testing the connection:
- Open a web browser and navigate to a website to check Internet connectivity.
Troubleshooting Common Issues
Unable to Detect Wi-Fi Networks
- Ensure the wireless adapter is properly installed.
- Check if the Wi-Fi is enabled on your router.
- Move closer to the Wi-Fi router to avoid signal interference.
Slow Internet Connection
- Check for potential interference from other electronic devices.
- Update the wireless adapter’s driver to the latest version.
- Restart the router and the computer.
Connection Drops Frequently
- Verify if there are any physical obstructions blocking the Wi-Fi signal.
- Ensure the router firmware is up to date.
- Adjust the Wi-Fi channel settings on your router.
Conclusion
Setting up a wireless network adapter involves several steps, but by following this guide, you can achieve a stable and reliable Wi-Fi connection. Paying attention to driver installation, proper hardware connection, and configuring the correct network settings are key to a successful setup.
Quick Reference Table
| Step | Description |
|---|---|
| 1 | Unbox and inspect the adapter |
| 2 | Install the driver software |
| 3 | Connect the adapter to the computer |
| 4 | Configure wireless settings |
| 5 | Test the connection |

